
Access Denied
IMPORTANT! If you’re a store owner, please make sure you have Customer accounts enabled in your Store Admin, as you have customer based locks set up with EasyLockdown app. Enable Customer Accounts
Product FAQ
Customer Reviews
★★★★★Totally recommend 100% great gifts and customer service is amazing. Thank you so much Breann for assisting me! I got my grandmother the angel bear singing happy birthday from her mother who passed away last year. She would always call and sing happy birthday to all her children, grandchildren, and great grandchildren. ALL of them. Never missed one. And this helped her to still have that last year and many years to come.
Kayla3/15/2023
★★★★★Where to begin. My son Davin was stillborn last year and I was for fortunate enough to have had his heart beat recorded. I found healing in taking My Heartbeat Bear animals and adding weight to them for other bereaved parents to have something special to hold and cuddle. I’ve since started a non profit called Our Baby’s Legacy for pregnancy and infant loss support, and these weighted animals are a big part of what we do.
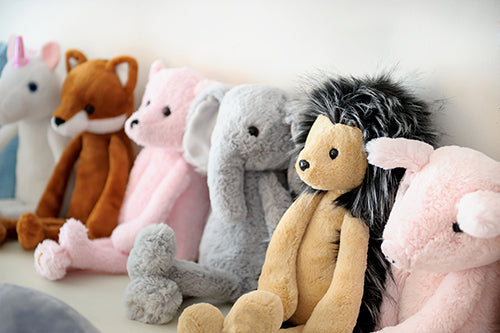
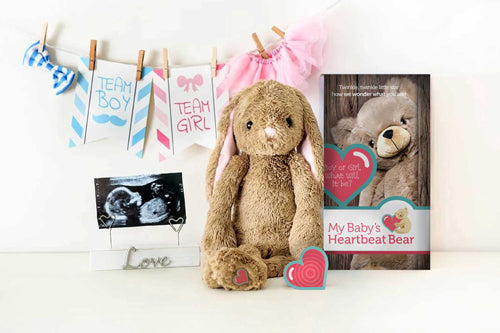
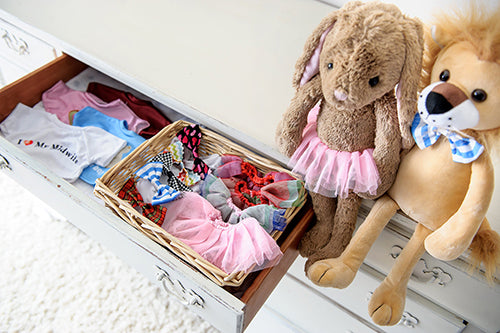
The product My Baby Heartbeat Bear makes is really great quality, which is extra important for me considering they may become some parents most cherished possessions after their loss. The animals are super soft and I absolutely love the vintage design where they are floppy and cuddly, and just the perfect size. I also love that there are so many choices, I’m always touched by why one parent chooses one over the other. Seems like a small feature, but to be able to choose a cow because thief nursery was to be barnyard themed, or a bunny bc their baby was born in the spring, is something very special.
I also have found working with the company to be a wonderful experience. Sheldon is who interact with most. When first setting up my account he offered a free sample and has since sent me samples of other items by them. I’ve had to call and add last minute animals to my order or request they be processed ASAP and he and the other staff have always been very accommodating.
I can’t say enough about how easy they make my job. they don’t likely know it but they are making a massively positive impact in the bereavement community with these animals through Our Baby’s Legacy. The animals bring light and comfort into the lives of an otherwise dark and broken place.Sarah10/22/2019
★★★★★I own at 3D ultrasound studio in Myrtle Beach SC and everyone LOVES this heartbeat buddies! They are so soft and cuddly and I love all of the vintage inspired ones. Thanks so much for such a great product for my expectant mamas!
Whitney7/17/2019
★★★★★I ordered the gender reveal "egg" frame for my daughter and her husband to use this past weekend and everyone just LOVED it! Everything in the shop is just AWESOME! I have a feeling I'll be ordering more things very soon. Thanks so much.
Toni4/10/2019
★★★★★I love my pink bear. 💜 it have it on display in my daughter's room. she loves listening to her heart heart from when I was carrying her 5 years ago.
Brianda1/16/2019
Invalid password
Enter


